CheerLights Tutorial: Particle Photon and BlinkM RGB LED
Introduction
This tutorial will demonstrate how to create a CheerLights project.
The end result will be a snowman that changes color based on Twitter tweets that use the hashtag #cheerlights.
Components
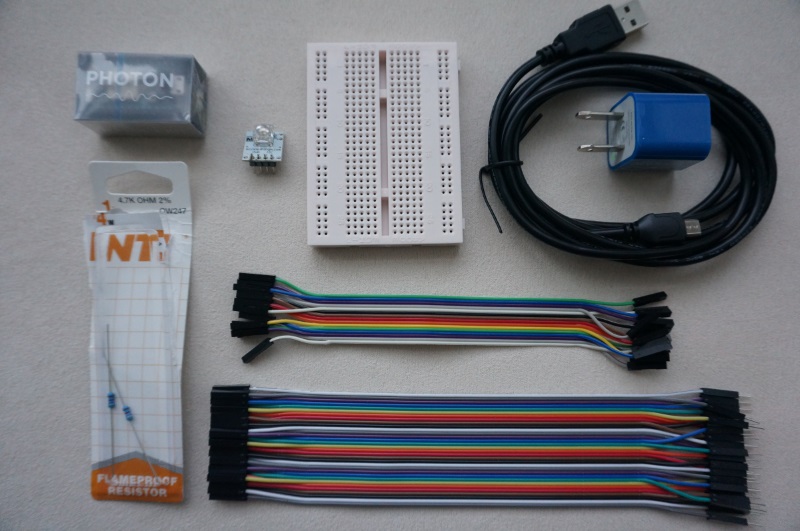
You’ll need the following components for this tutorial:
- Particle Photon
- BlinkM RGB Light
- solderless breadboard
- USB to micro USB cable
- 4.7k Ohm resistors (2)
- female/female jumper wires
- male/female jumper wires
Here’s a picture of the components:

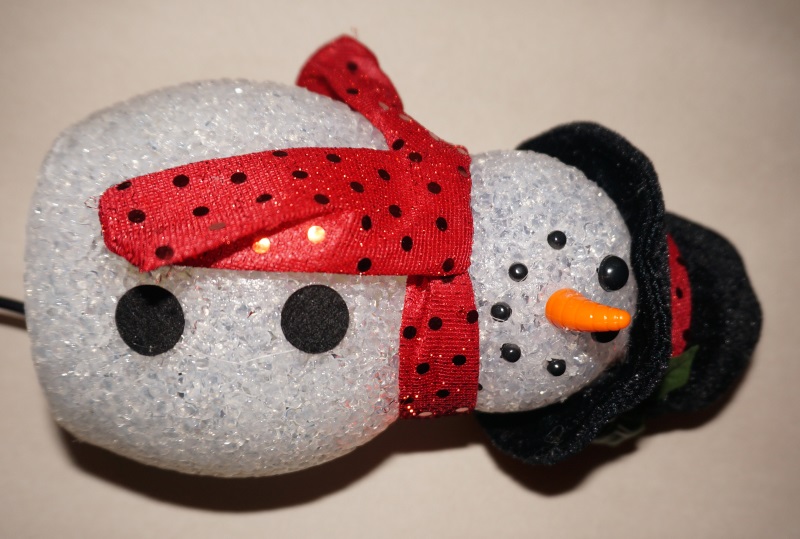
You’ll also need a decorative hollow snowman, large enough that all of the other components will fit inside:

Setup
- First, you’ll need to connect your Photon to Particle’s online service.
- After that, go to the Particle Build page where you can program your Photon. Click on CREATE NEW APP and paste in the code for this project.
- You’ll also need the ThingSpeak library, so click on the Libraries icon, find ThingSpeak (the one by MathWorks), and then click on INCLUDE IN APP.
- You can now flash your Photon by clicking the Flash icon at the top left of the page.
- Unplug your Photon before you begin assembly of your CheerLights display.
Assembly
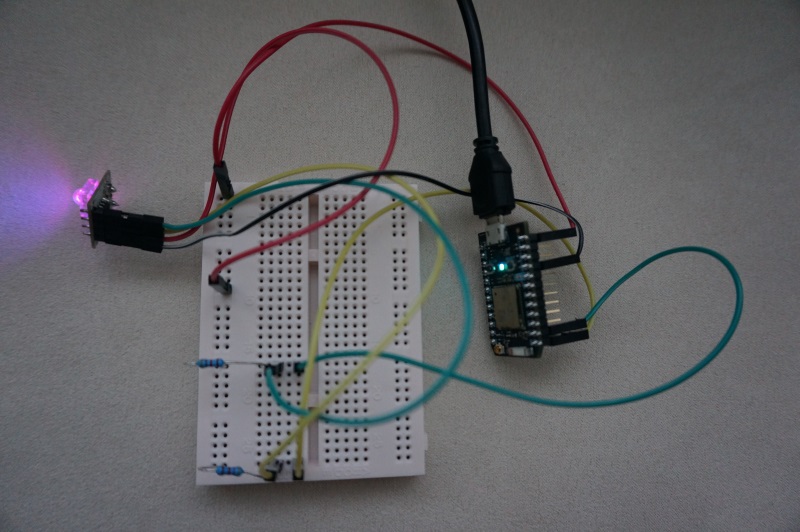
- First we’ll connect the power:
A. Connect “GND” on the Photon to “PWR -” on the BlinkM.
B. Connect “3V3” on the Photon to the “+” row on the breadboard.
C. Connect the “+” row on the breadboard to the “PWR +” on the BlinkM. - Next we’ll connect the I2C connectors of the BlinkM to the Photon using pull-up resistors:
A. Connect “D0” on the Photon to a column on the breadboard.
B. Connect that same column to “I2C d” on the BlinkM.
C. Connect a resistor in that same column to the “+” row on the breadboard.
D. Connect “D1” on the Photon to a new column on the breadboard.
E. Connect that same column to “I2C c” on the BlinkM.
F. Connect a resistor in that same column to the “+” row on the breadboard. - Plug the Photon into a power source via the USB cable, and the BlinkM RGB light should display the latest CheerLights color.

Display
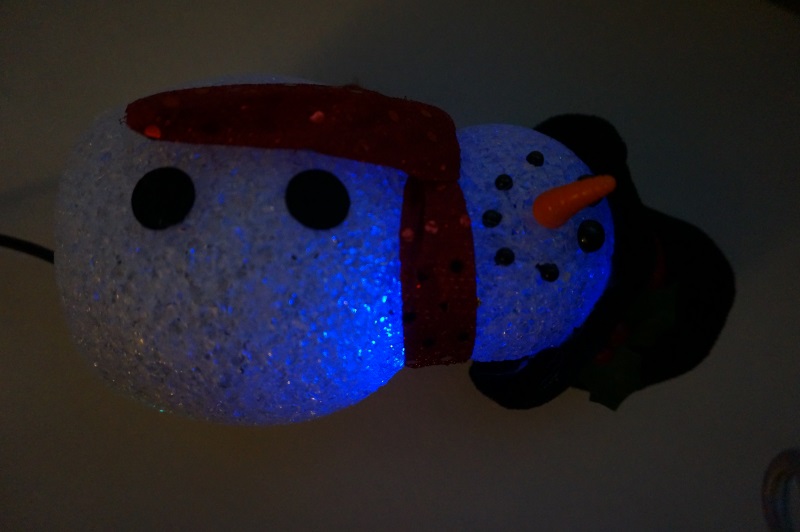
You can now cut out the bottom of the snowman, and push the assembled CheerLights display inside:

Controlling CheerLights
You can control CheerLights by sending a tweet that includes #cheerlights and the color name. Valid color names are red, green, blue, cyan, white, oldlace, purple, magenta, yellow, orange, and pink.
Special thanks to @scharler and @AnkitTheCoder for their assistance with this project.